
MOBILE STUDIO BUILD
Day 6 Plans for Destruction
Author: Justin Dunn
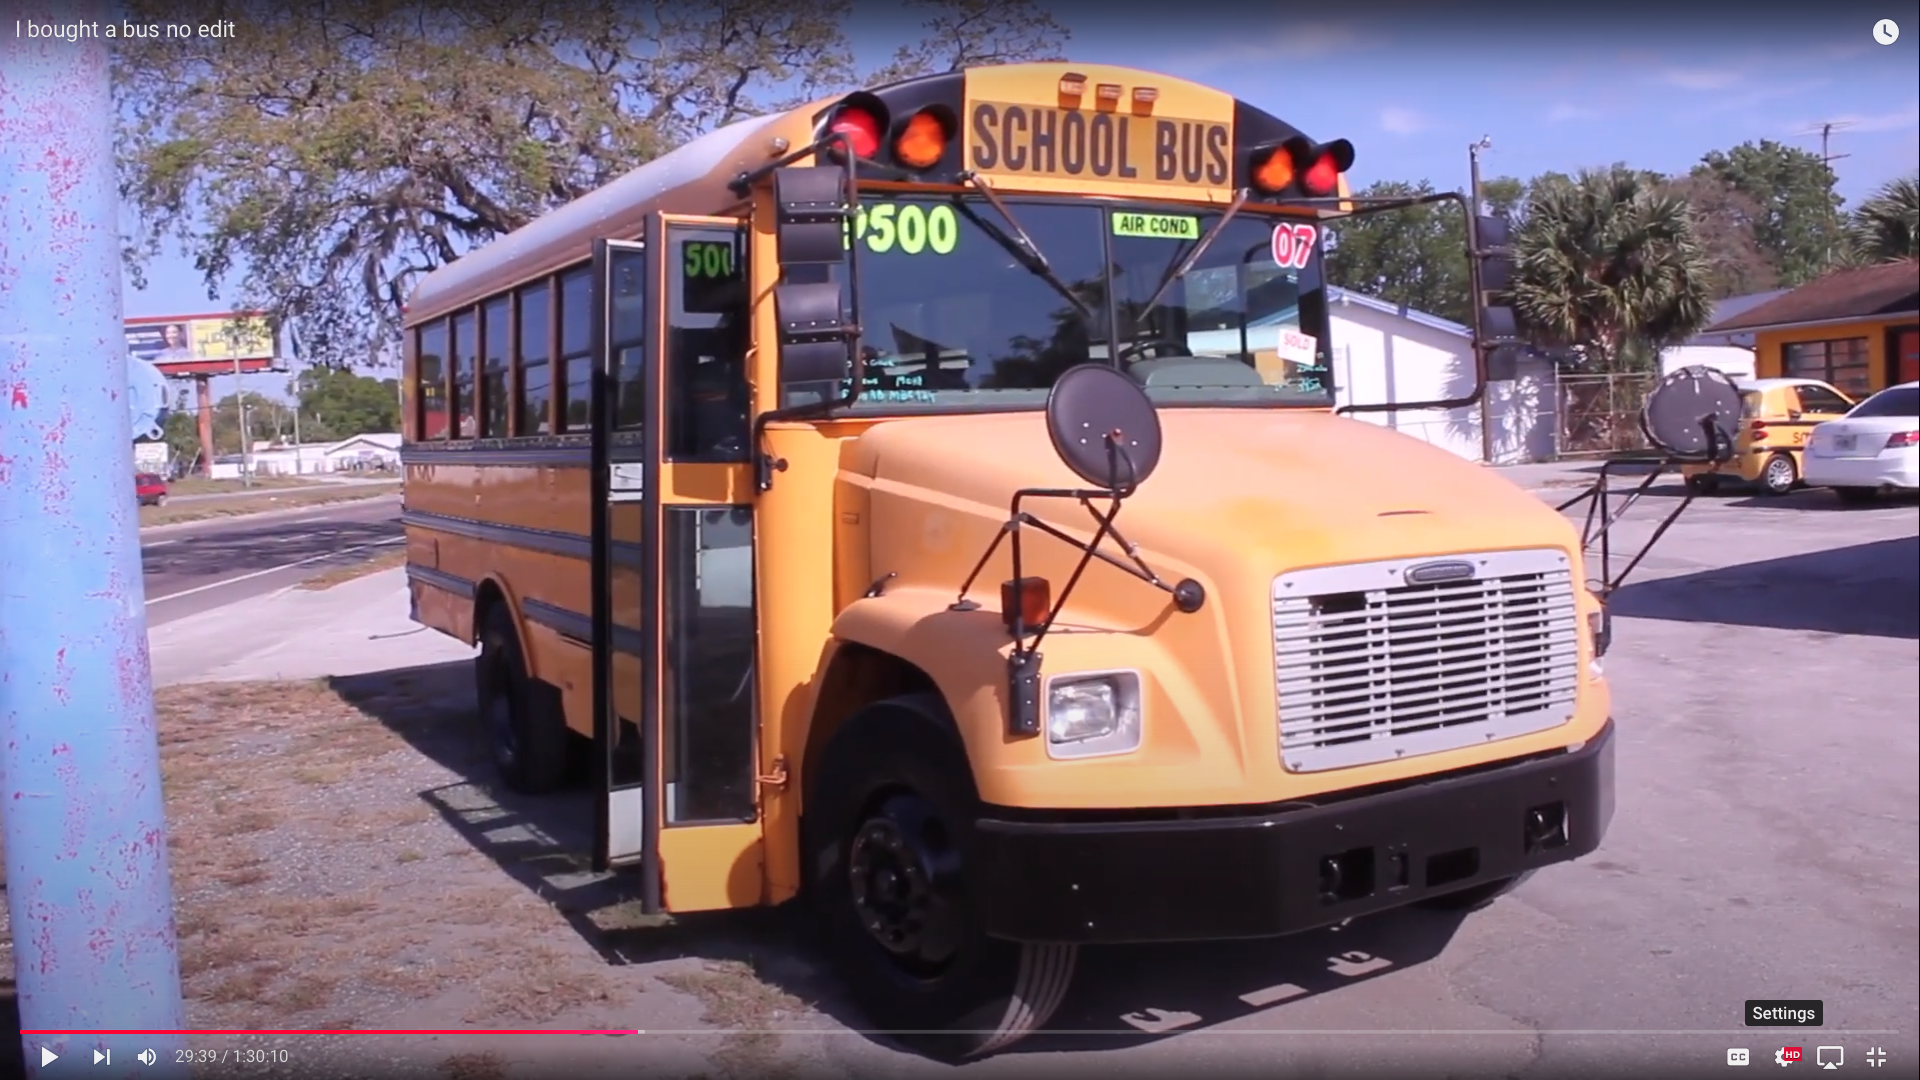
Kicking Off the Bus Build
Day six began with me sitting at my desk, camera rolling, ready to officially start docu-menting my bus build. I had a little script prepared, but as I hit record, things didn’t flow as easily as I hoped. The lighting wasn’t great, my workspace was cluttered, and I wasn’t feeling confident in front of the camera. Still, I pushed through and captured footage of myself talking about why I decided to buy a bus and what I planned to do with it.
Later that day, we moved outside to film in front of the bus. Talking about my decision to buy it felt more natural in that setting. For some variety, we also shot inside the bus. I talked about my vision for the layout and the conversion process while using an extension cord to power some lights and my laptop as a makeshift viewfinder. By the time we wrapped up, the sun was setting, signaling it was time to get to work on the bus itself.
First Task: Removing the Seats
With the camera gear packed away, we turned our attention to the first real step of the build—removing the seats. At first glance, it seemed straightforward. Each seat was bolt-ed to the floor with four bolts—two on each leg.
We started by using an air ratchet to loosen the bolts, but it quickly became apparent this wasn’t going to be as easy as we’d hoped. The bolts refused to budge. Switching to a sock-et wrench got them to turn, but they didn’t seem to be loosening. That’s when I climbed under the bus to investigate and found the problem—nuts on the underside were holding the bolts in place.
The Learning Curve
Armed with a 1/2-inch drive wrench to hold the nuts steady, we tried again. My dad used the air ratchet on the bolts from above while I worked underneath to keep the nuts from spinning. This was easier said than done. The nuts were covered in thick undercoating, making it hard for the wrench to grip them properly.
At one point, the wrench slipped and pinched my fingers. Other times, it would spin out of position, forcing me to reposition it repeatedly. Luckily, the ribs of the bus floor helped keep the wrench from spinning out completely.
After plenty of trial and error, we got all four bolts out, but the seat still wouldn’t budge. That’s when we noticed bolts on the back of the seat attaching it to the wall. I removed one, but the seat still didn’t move. Frustrated, I checked under the seat again and finally spotted a hidden bolt in the center.
Cracking the Code
My dad figured out how to flip the seat cushion up, giving us access to the last bolt. Armed with the impact gun, I quickly zipped it out, and the seat was finally free.
With that experience under our belts, removing the second seat went much faster. By the end of the evening, we had two seats out and a clear plan for tackling the rest.
Wrapping Up the First Night
That first night working on the bus was dirty, exhausting, and incredibly rewarding. My dad and I made a great team, figuring out how to navigate each challenge as it came up. We might have only removed two seats, but we learned a lot in the process—and had some fun along the way.
What’s Next?
The bus is finally starting to transform. This is just the beginning, and I can’t wait to see where this project takes us. Stay tuned for more updates as the conversion continues!
Bus Video 3: The Plan