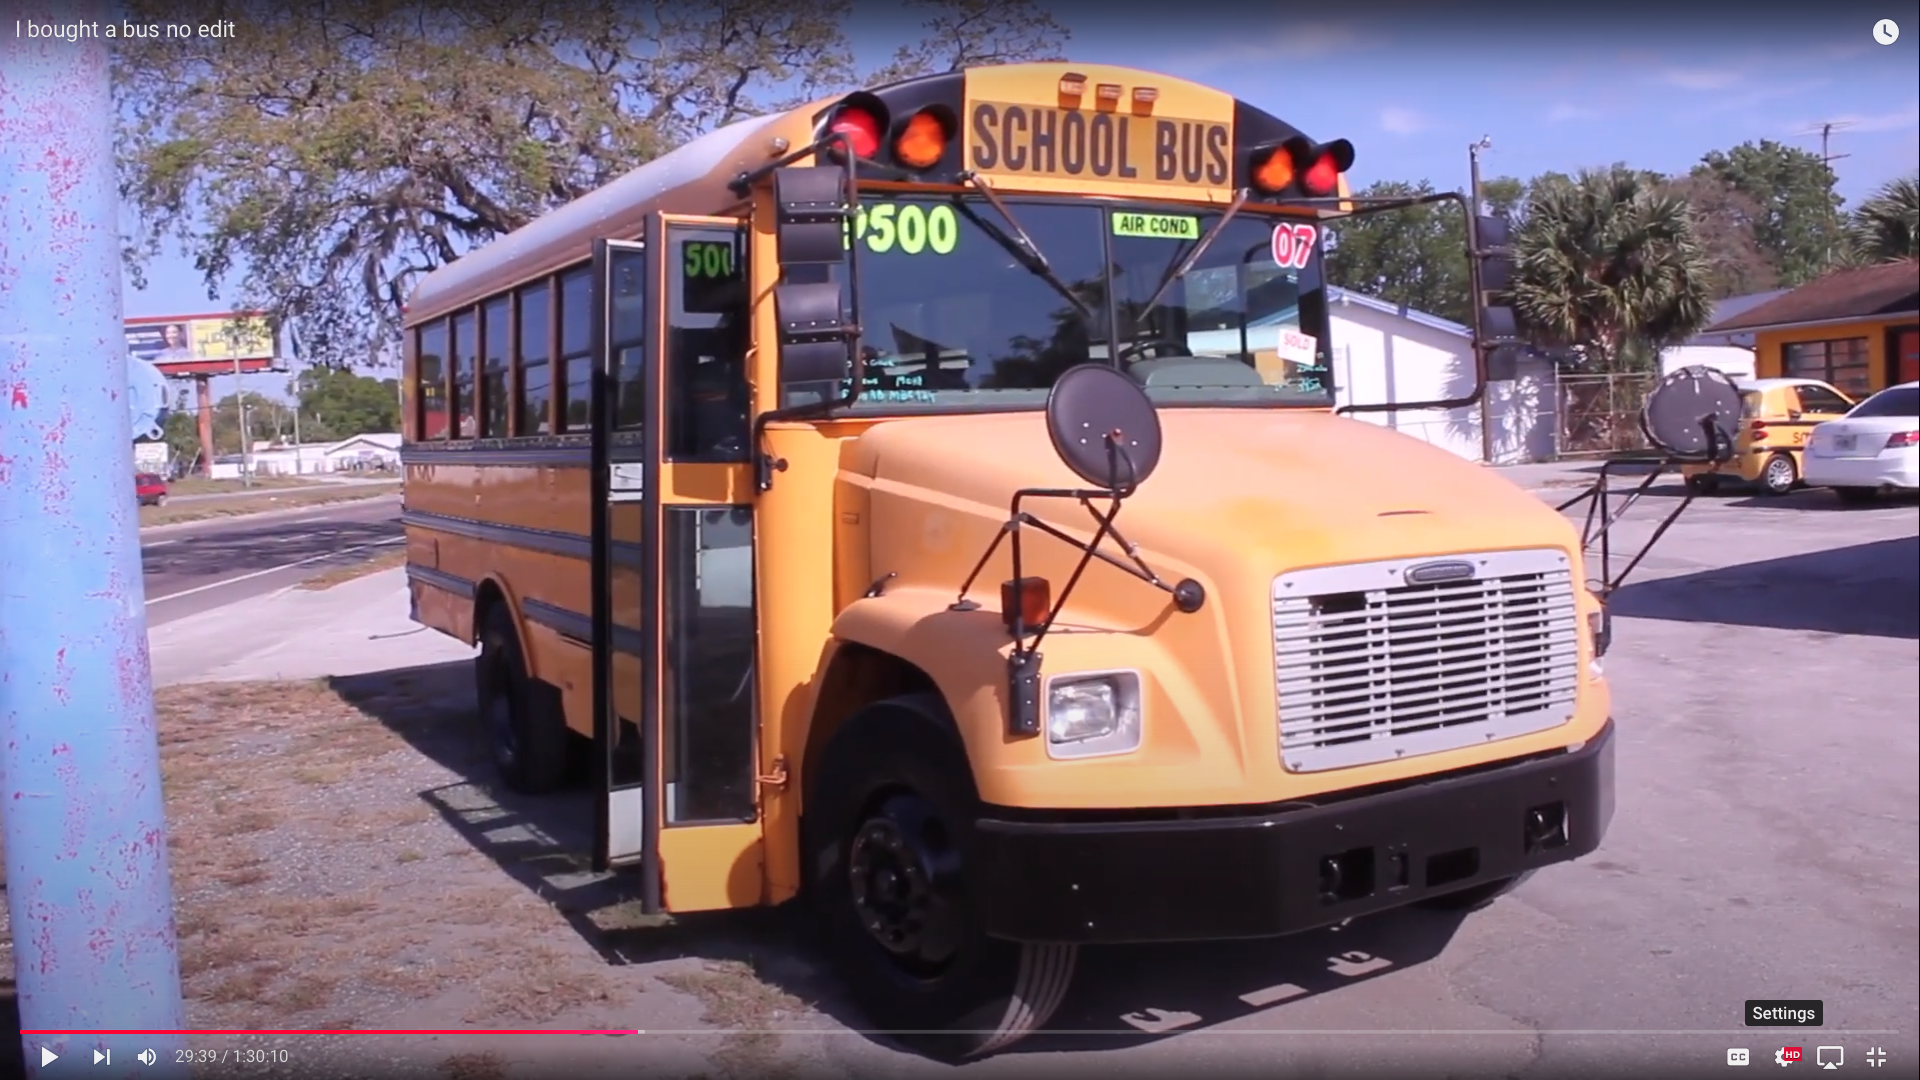
MOBILE STUDIO BUILD
Day 10: Walls, Fasteners, and Unexpected History
Author: Justin Dunn
Removing Seats and Dreaming Big
It’s day 10 of owning the bus, and while the seats are finally out, the real work has just begun. Today’s mission: tackling the partition walls at the front and making progress on removing fasteners, walls, and insulation.
Deciding on the Front Partition Walls
The walls separating the driver’s area from the main cabin seem to be there for student safety during a collision, but I’m debating whether to keep them. On one hand, they could add separation and structure to the cabin, especially if I install a front-row seat or a cap-tain’s chair for my wife. Ideally, I’d love for her to have a comfortable seat with a seat-belt—and maybe even a spot to prop her feet up.
For now, though, the walls need to come out to access the flooring and insulation. I’ll de-cide later if they go back in, possibly modified.
Removing the Passenger Side Partition
The first wall to tackle was on the passenger side, which had more space to work around. After some investigation, I found it was anchored with three bolts to the floor. Under-neath the bus, I could only see two nuts.
Working solo made this part challenging. I used an impact gun to spin the bolts loose, hop-ing the nuts would break free on their own. When that didn’t work, I got creative—wedging a wrench against the floor with a magnetic stick or positioning it to hold against the ribs. After several failed attempts, persistence paid off, and the bolts came out.
Next up was the handrail near the bus entrance. It was attached with two screws and two rivets. The screws were manageable, but the rivets required grinding. Once the rail was off, I discovered the final bolt was actually a screw bolt, which threaded directly into the floor. A quick shot with the air impact, and it came out easily.
The last step was removing the bolt and nut from the wall rib. With that done, I heaved the partition wall out of the bus.
Taking on the Driver’s Side Partition
Armed with the experience from the first wall, the second one came out much faster. Re-moving it uncovered a surprising amount of debris—game pieces, loose change (up to $2.68 now!), and even more screws. I’m beginning to think this bus might have a thou-sand screws holding it together.
Ceiling Panel Challenges
I decided to start removing the ceiling panels, beginning with the second panel back. These panels overlap, so the second one had to come out first. I unscrewed the wall por-tion of the panel, but the screws were incredibly tight. The screwdriver bit kept skipping, and some screws stripped entirely.
When that happened, I turned to vice grips to clamp onto the screw heads and twist them loose. This worked for about 20% of the stubborn screws. For the rest, I used a drill with a quarter-inch bit to grind the screw heads flush with the panel. This left the screw shafts in place, but I’m hoping the panel will slide off once all the screws are dealt with.
Walls, Insulation, and Hidden History
Later in the day, my dad joined in, and we shifted focus to the rear wall panels. After re-moving screws and peeling back insulation, we found the walls were deeper than ex-pected—about two feet in some areas near the floor. This complicates insulation installa-tion, especially if I use rigid foam boards, which would need to be cut into smaller pieces.
We tried removing a full wall skin but discovered it was tucked under the window sup-ports. To remove it entirely, I’d need to take out the windows. In Florida, unpredictable rain makes that risky unless I can remove and reinstall the windows the same day.
While inspecting the insulation, I found a crumpled piece of paper wedged behind it. It had crayon markings, the year 2005, and some part numbers. It looked like a technician’s note for measuring insulation panels that accidentally got left behind during assembly. Holding that little piece of history made me feel connected to the bus’s origin story—and gave me insight into its manufacturing era.
Progress, One Screw at a Time
By the end of the day, I felt a mix of accomplishment and frustration. We worked hard, but the visible progress was minimal. Removing the seats made a huge difference, but to-day felt like we were just taking out fasteners with little to show for it.
Still, every screw removed is one step closer to the goal. Tomorrow, it’s back to work on more screws, panels, and planning. Every small effort adds up, and I’m excited to see what we uncover next!


